Quick Way To Boost Your Photo (Adobe Lightroom)
In this blog I will show a quick way to boost your image and make it a little more punchy. This is just one method and there are other ways to achieve this, however I found this way to be the quickest and easiest. This blog is for Adobe Lightroom but any other editor will do this too.
Have you ever finished an edit but for some reason it felt a little flat? The colours are fine, the exposure is correct, contrast is fine but for whatever reason it feels a little dark and dull? We’ve all been there and there are a few things we can try to do in order to bring some life into the image.
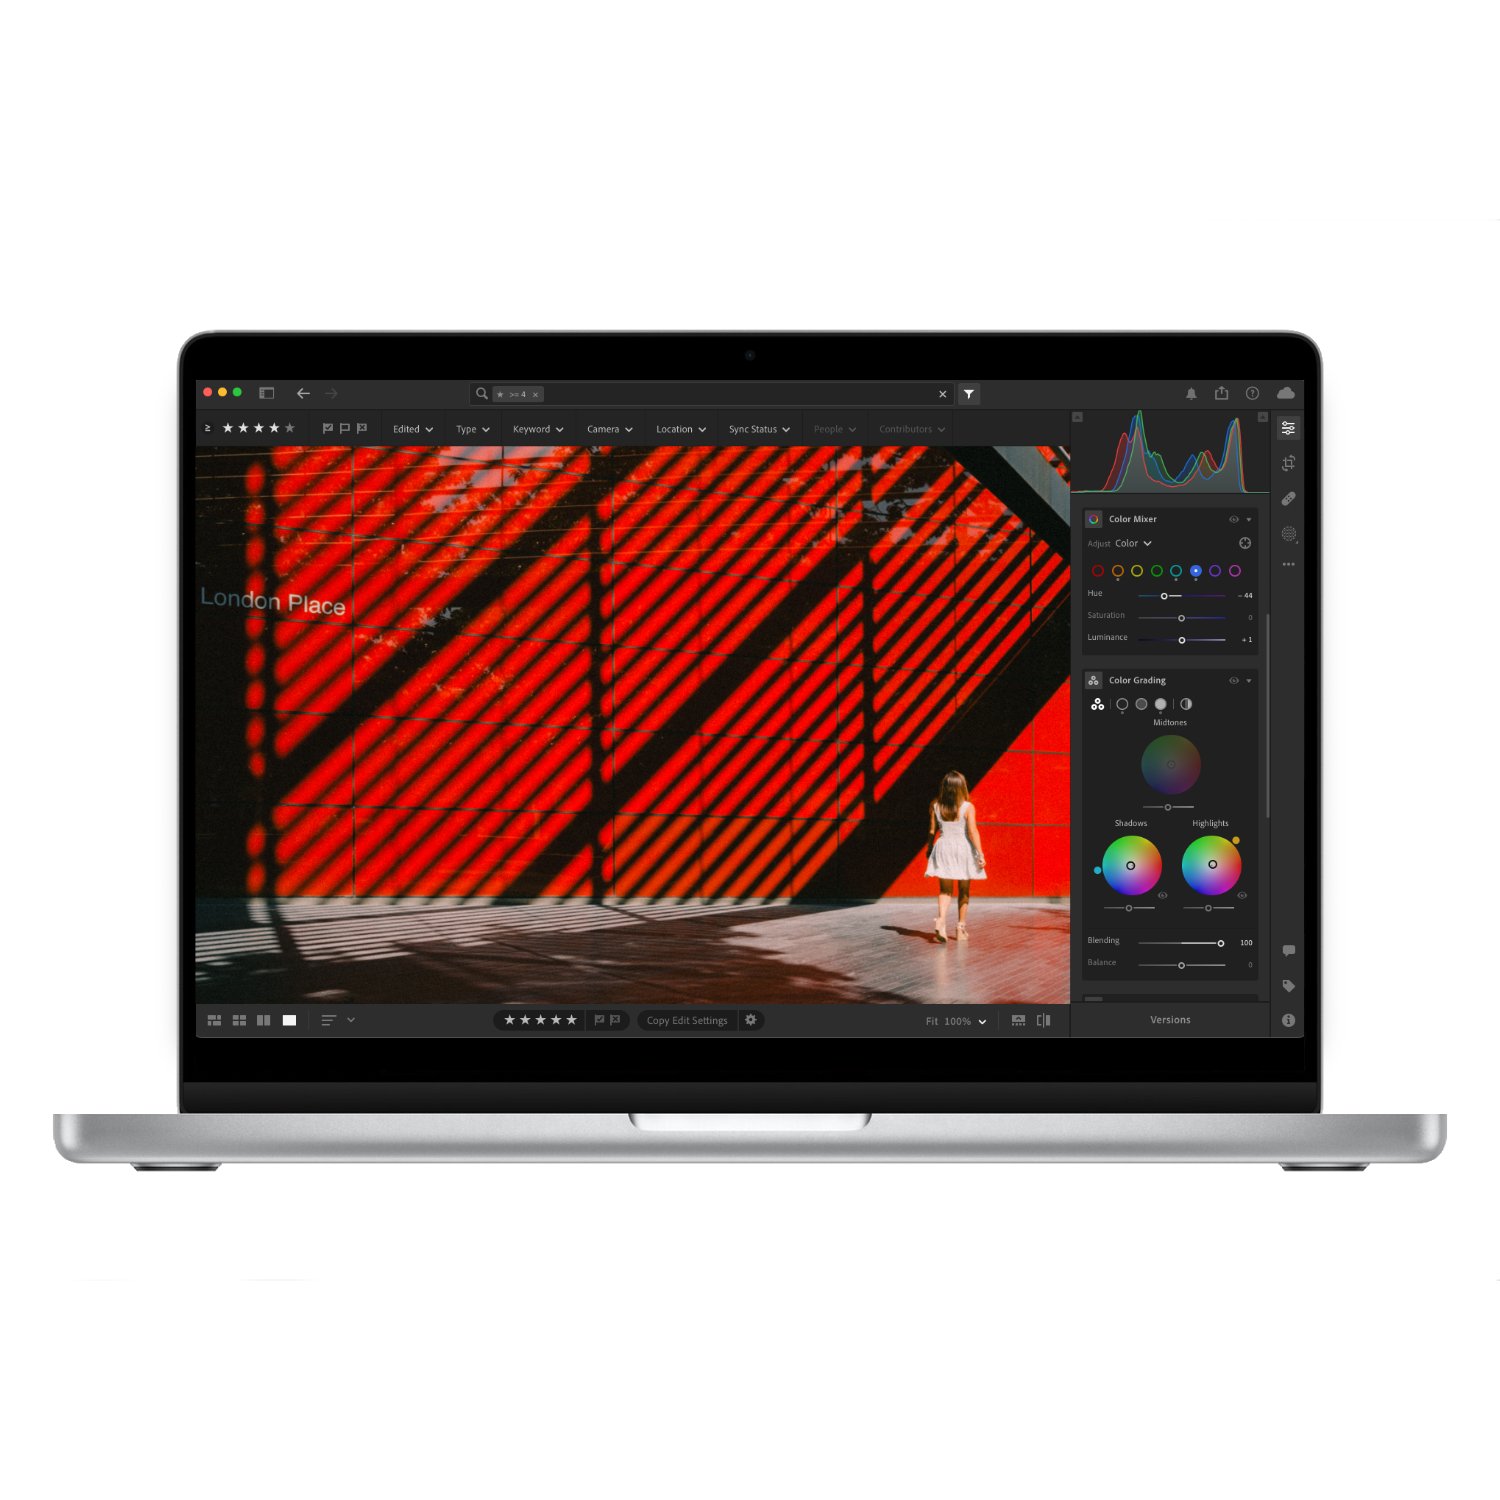
This is the original image and although I like the edit, I feel it looks flat.
The first thing you do is try to raise the exposure. However this just looks overexposed.
The second option is to boost contrast, but this does nothing.
What about raising shadows? Definitely not.
You can raise the whites which actually works in many scenarios. However here, this just blows the highlights. This might be difficult to see on this blog after all that compression.
Finally you can try boosting the saturation and although this photo looks good a little more saturated, it doesn’t achieve the desired result.
The tool that works for me actually lives under the colour grading tab. If you click on the midtones, you will see a luminance slider. This slider adjusts the brightness of the midtones in the photo. Slide that up for a very subtle yet noticeable boost in brightness and punch.
It’s worth noting that this can be achieved using the Curves Adjustment with a higher degree of control, however it will take more time.
If you like how this photo is graded, please check out my Lightroom Presets below to help support this ad free blog.


