iPhone Photos That Don’t Suck
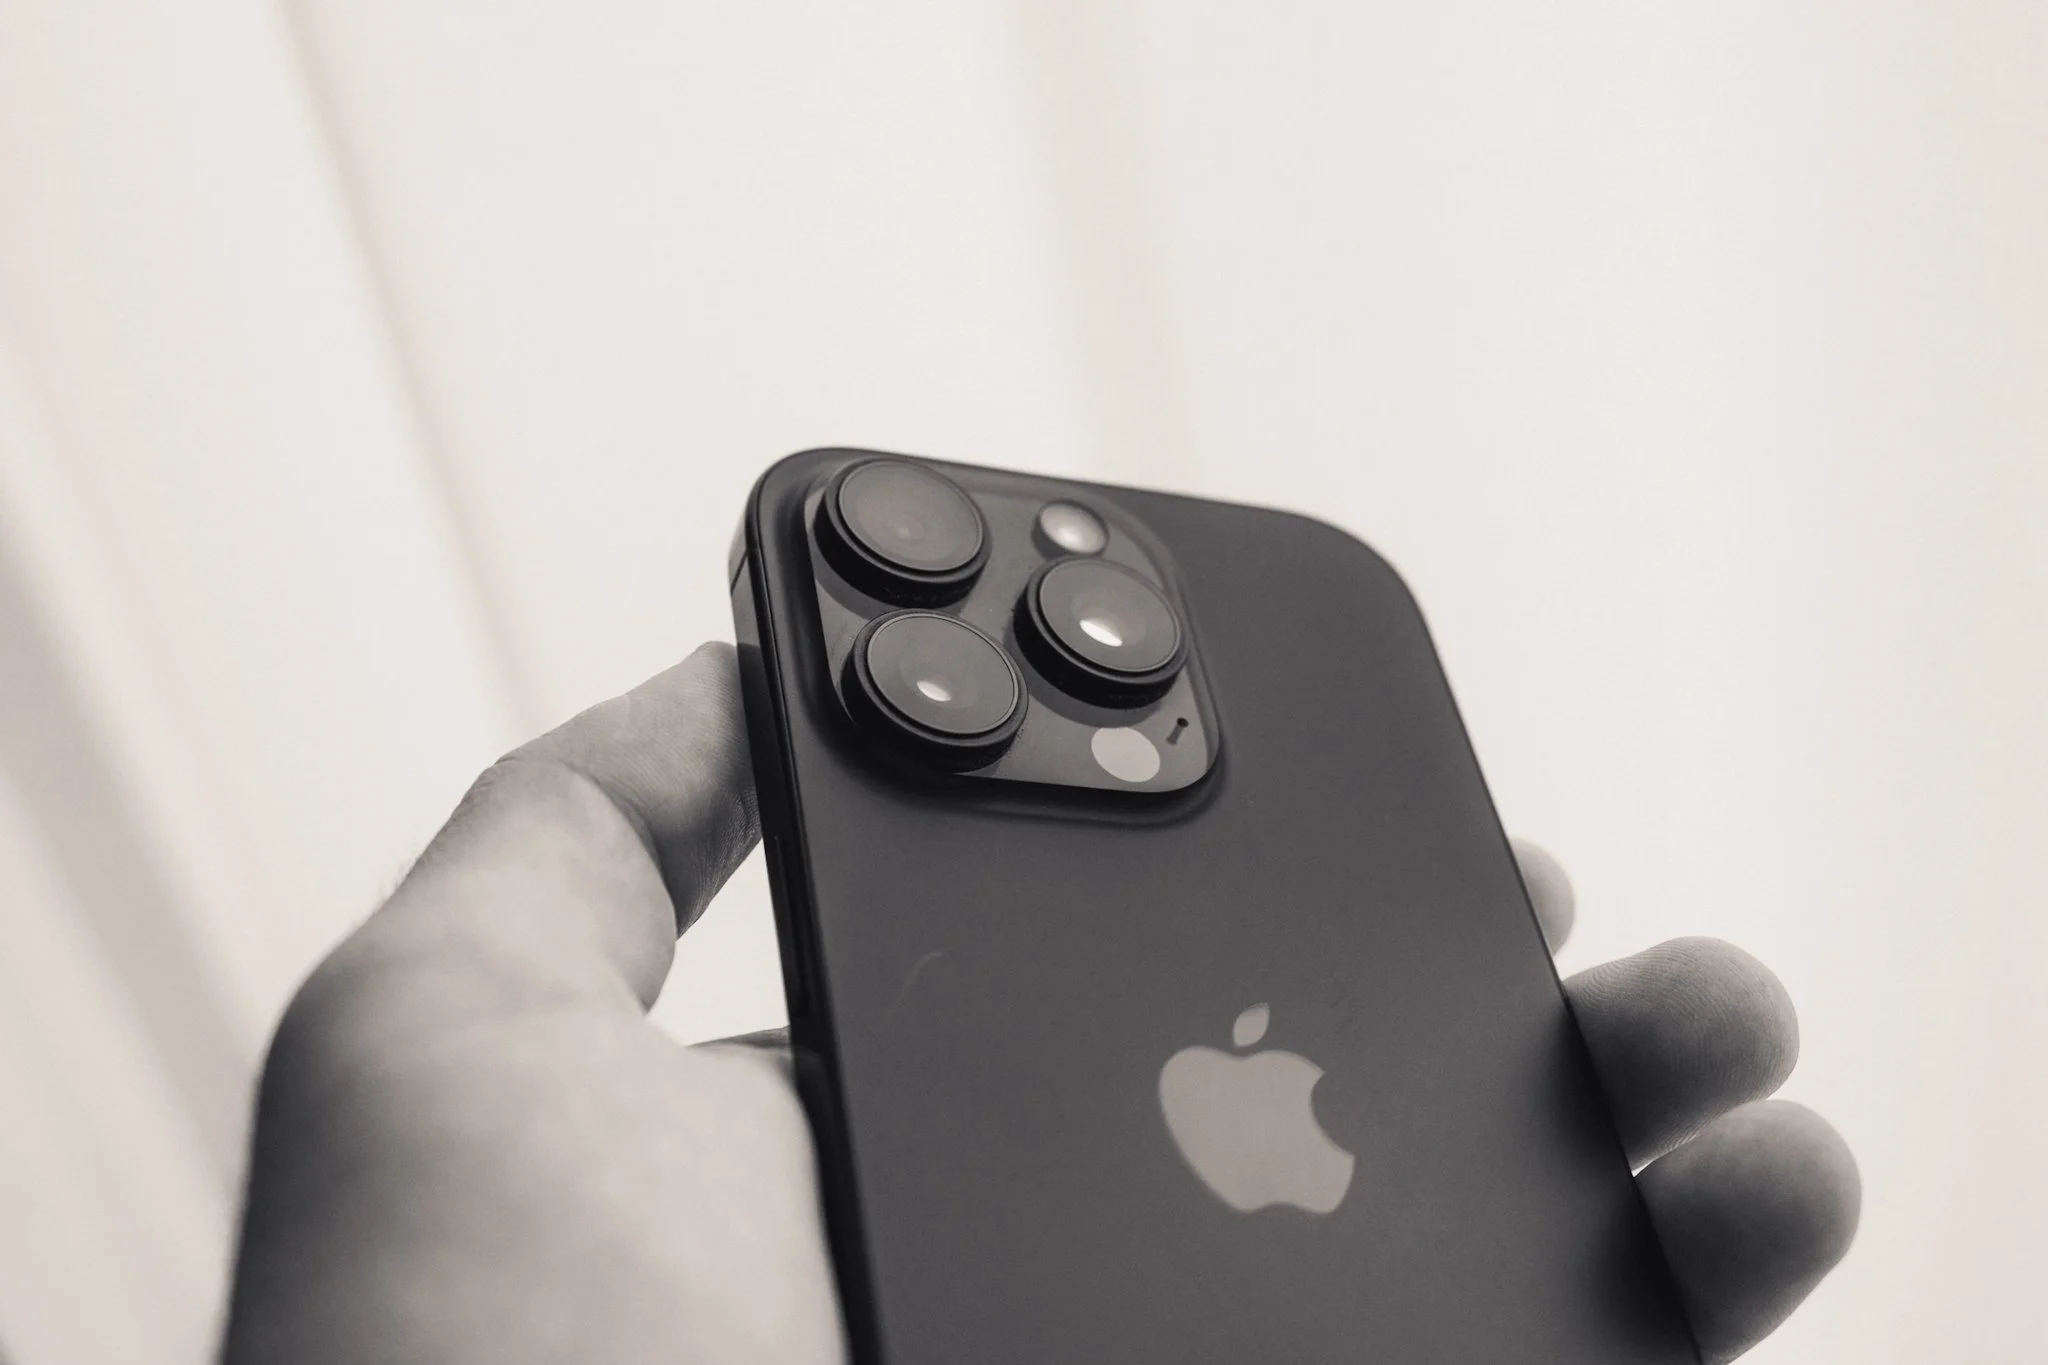
For years, phones have been known for sub-par image quality, muddy photos, horrid digital sharpening, and being devices solely designed for selfies and pictures of your lunch. That doesn’t have to be the case, because if you know a few basics, you can get some truly amazing photos from the iPhone. In this blog, I’ll take you step by step through my entire iPhone photography process. We’ll cover settings, techniques, editing, and more. By the end, you’ll be taking better photos with your iPhone. Below is a small gallery of my favourite photos taken on my iPhone 16 Pro this year.


Know The Limitations
Before getting into details, it’s worth understanding the limitations of what an iPhone can do. While Apple is great at making it seem like the best camera in the world that can do everything, the reality is a little different. By far the biggest limitation is the small sensor size. Whatever fancy marketing wording Apple uses, and whatever AI computational 50-layer image processing software they implement, there’s no way to get around physics. To squeeze the most out of this sensor, you need to shoot in places with ample lighting. More light will result in cleaner, sharper images that are more pleasing to the eye. Lower light will prove more challenging.
This brings me onto lenses. Depending on what phone you use, you might have two or three lenses. On a Pro-level iPhone, you’ll typically have the main wide lens, an ultra-wide, and a telephoto. Keep in mind that (at the time of writing) only the main camera has the largest sensor and the fastest lens. So while the other lenses might now share the same resolution, if you want the absolute best image quality, stick to the primary lens.
So Many Apps
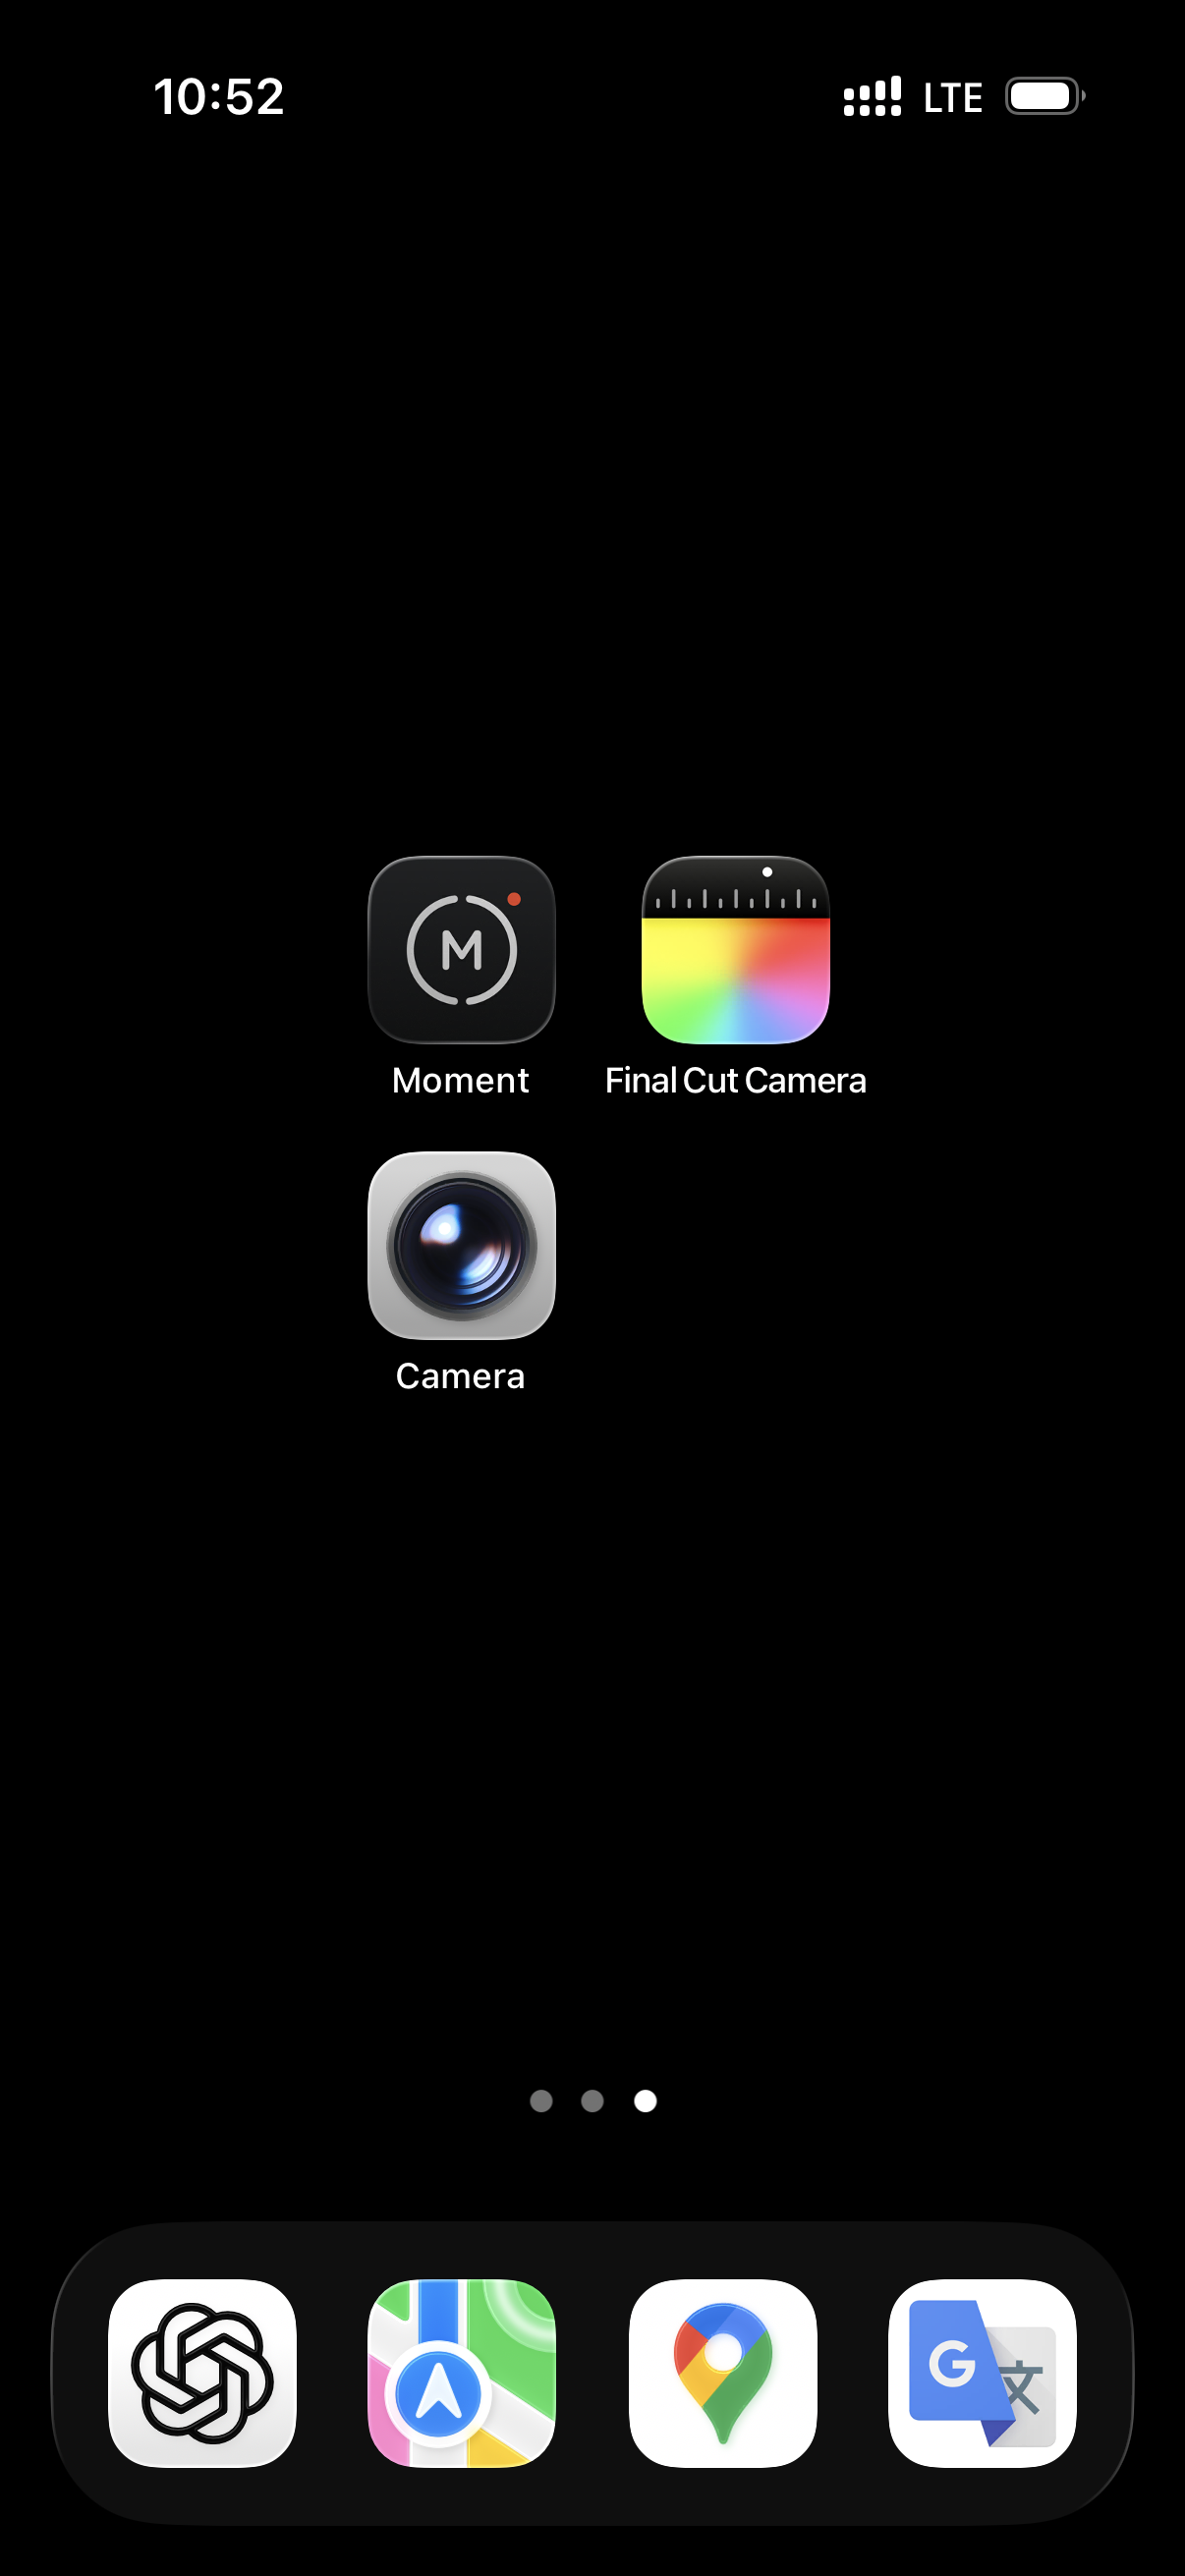
You’ve probably been in the same position as me, looking at all these different apps and feeling lost about which one to use. Having tried a bunch, I can confidently say that the best app for everyday photography is the default one that comes with your phone. My preferred app for more advanced settings and custom control is the Moment app. This isn’t a video guide, however for filming I use Final Cut Camera.
Essential Settings
In this section, I’ll cover the essential settings you need to get the most out of your iPhone for photography. This won’t cover everything, for that check out the iPhone Photography Guide. To access the settings below, go into the Camera section of the Settings menu.
ProRAW – This is the most critical setting. Make sure this is switched on to get the best quality image for editing. If you don’t plan on doing any editing, then by all means leave it off. Head into the Formats section, then enable ProRAW. You’ll also want to make sure JPEG Lossless (Most Compatible) is selected.
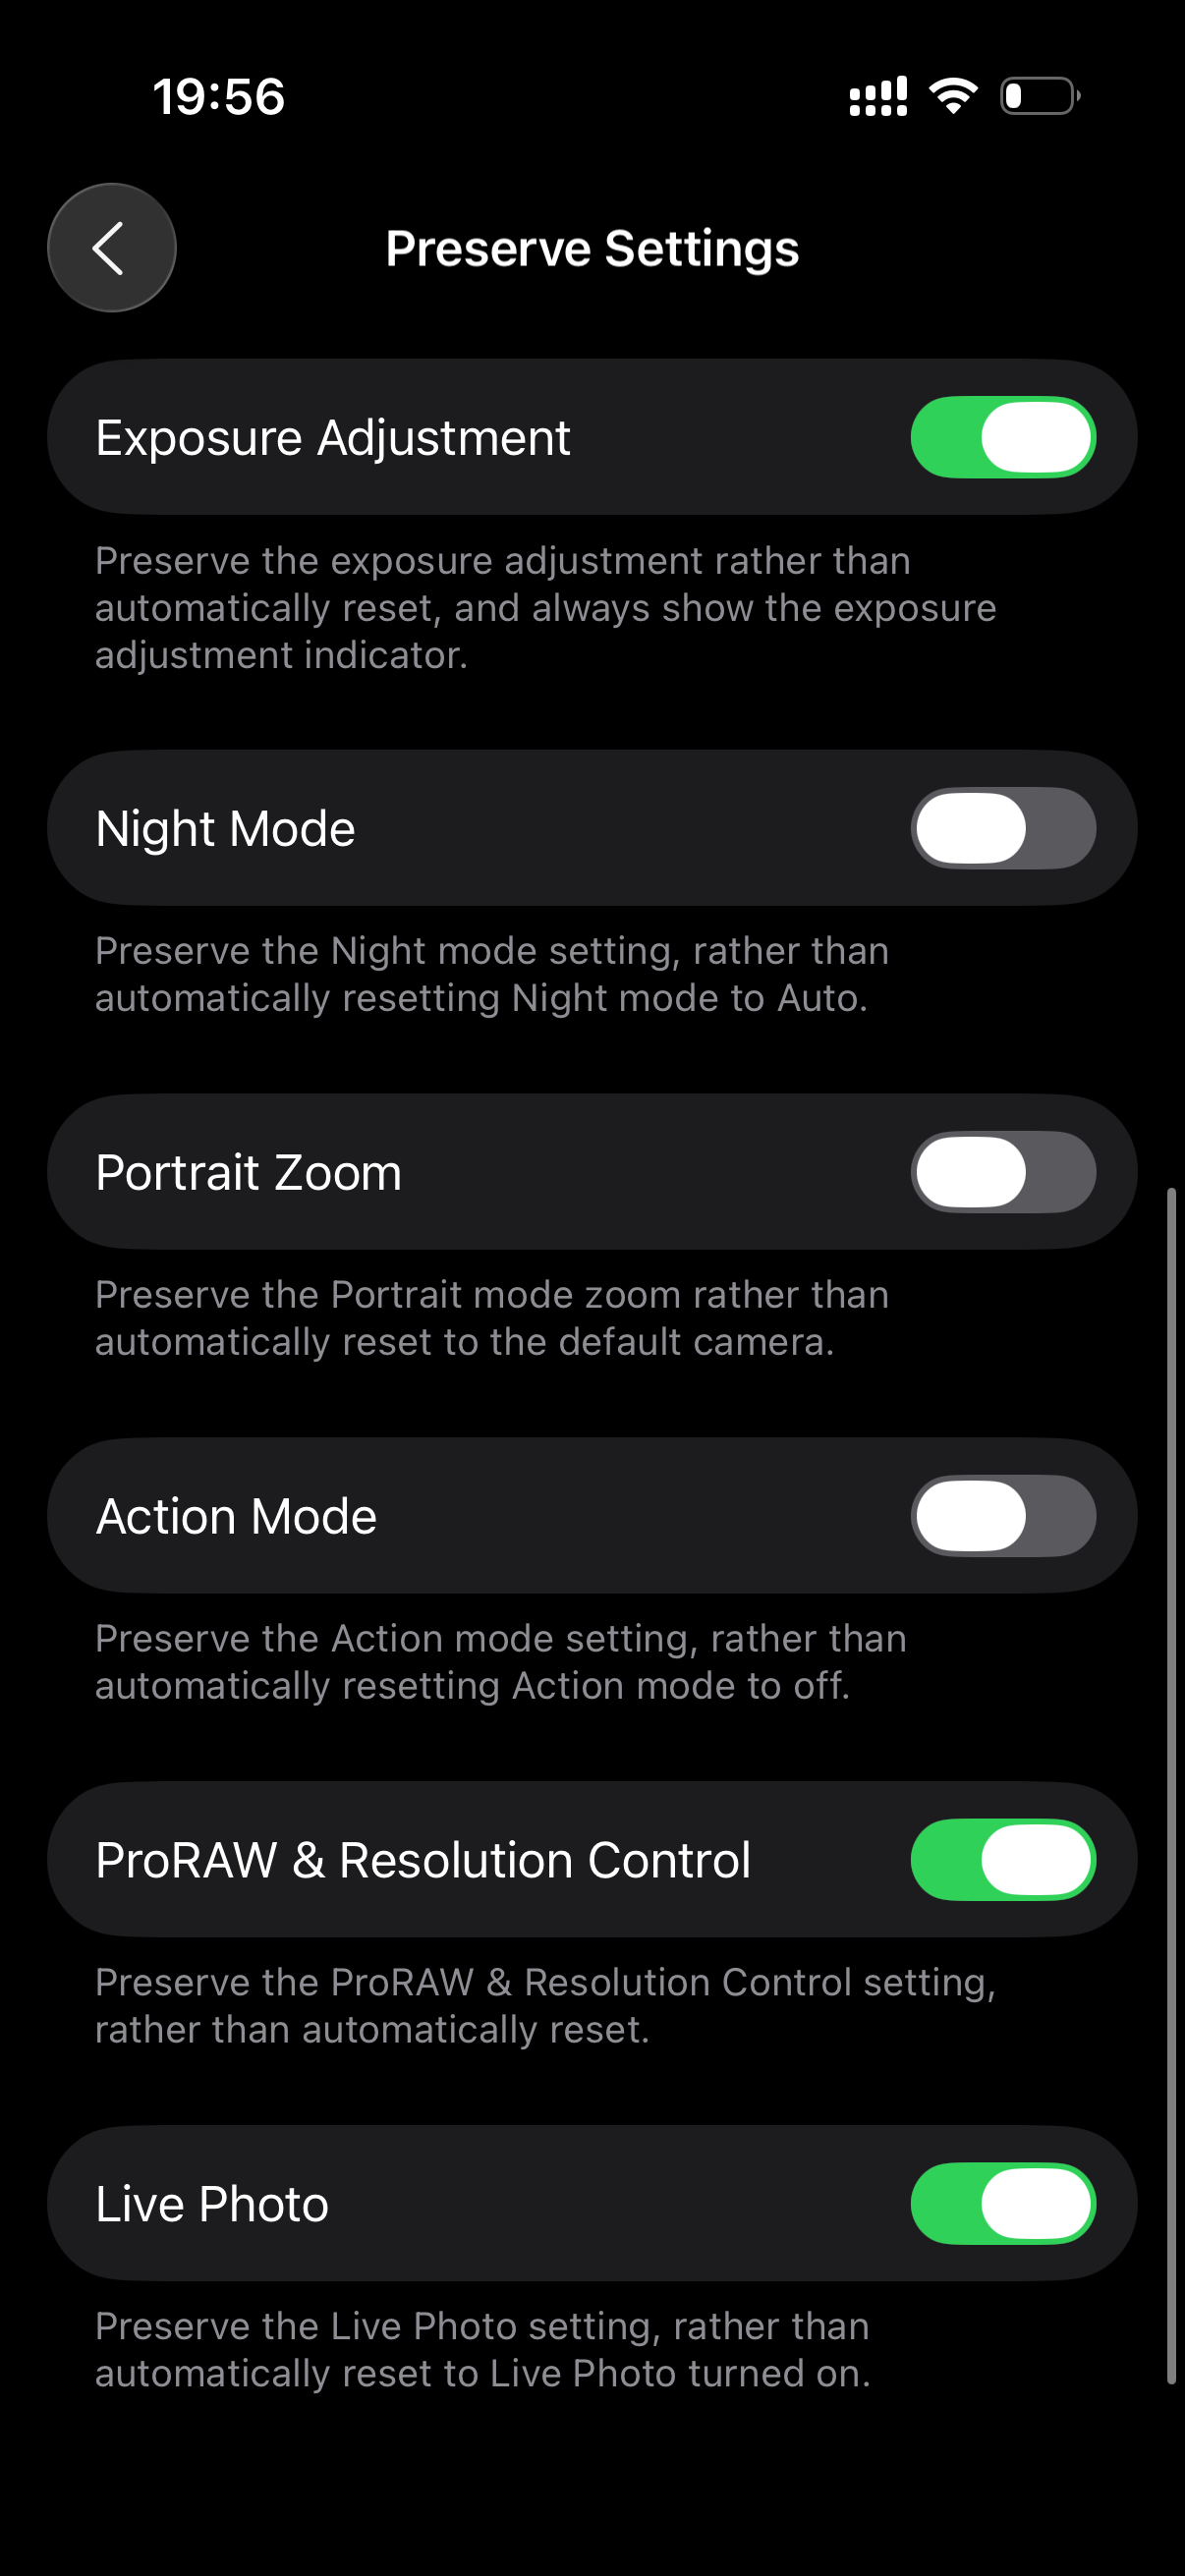
Preserve Settings – This section allows you to select which settings are remembered when you quit and restart the Camera app. I only enable Macro Mode, Exposure Adjustment, ProRAW, and Live Photo. Whatever changes I make to these will be remembered, all other parameters will reset to default.
Grid & Level – I have both of these switched on to help with composition.
View Outside Frame – I always switch this off, as I find it incredibly distracting when trying to compose.
Fusion Camera – Here you can change the “focal length” of the main camera. You can choose 24mm, 28mm, or 35mm. Of course, these are just digital crops of the main 24mm camera, but the quality holds up well. I personally keep it set to 28mm, as that’s what I prefer for day-to-day shooting.
Global Exposure – For this, we need to exit Settings and open the Camera app. In the top left, you’ll see a small exposure icon. You can also access it through the Control Menu by swiping up next to the shutter button. Here you can set the default exposure level.
If I’m shooting in very harsh light, I might drop it to around –0.3. On dull, cloudy days, +0.3 is enough. In low light, I can drop it down to –1 to preserve highlights. With that said, leaving it on 0 will also be fine. The key here is to experiment and see what works best for your style and how you edit.
Focus & Exposure – Probably the most useful tool at your disposal is the focus and exposure lock. If you tap on the screen, you can focus and expose for that area. Tap and drag up or down to adjust the exposure level. Tap and hold to lock focus and exposure on that spot. This is great for focusing, exposing, and recomposing your shot.
Photography Fundamentals
If you’re a regular reader of this blog or a follower of my work, feel free to skip this chapter because I’ve covered it many times before. If you’re new here, then this is probably the most important part of this blog. I’ll go over three essential photography techniques that will ensure great photos regardless of the camera. This isn’t a photography course (for that, see My Little Photography Book), so I’ll keep things brief and high-level, but with enough information to get you going in the right direction.
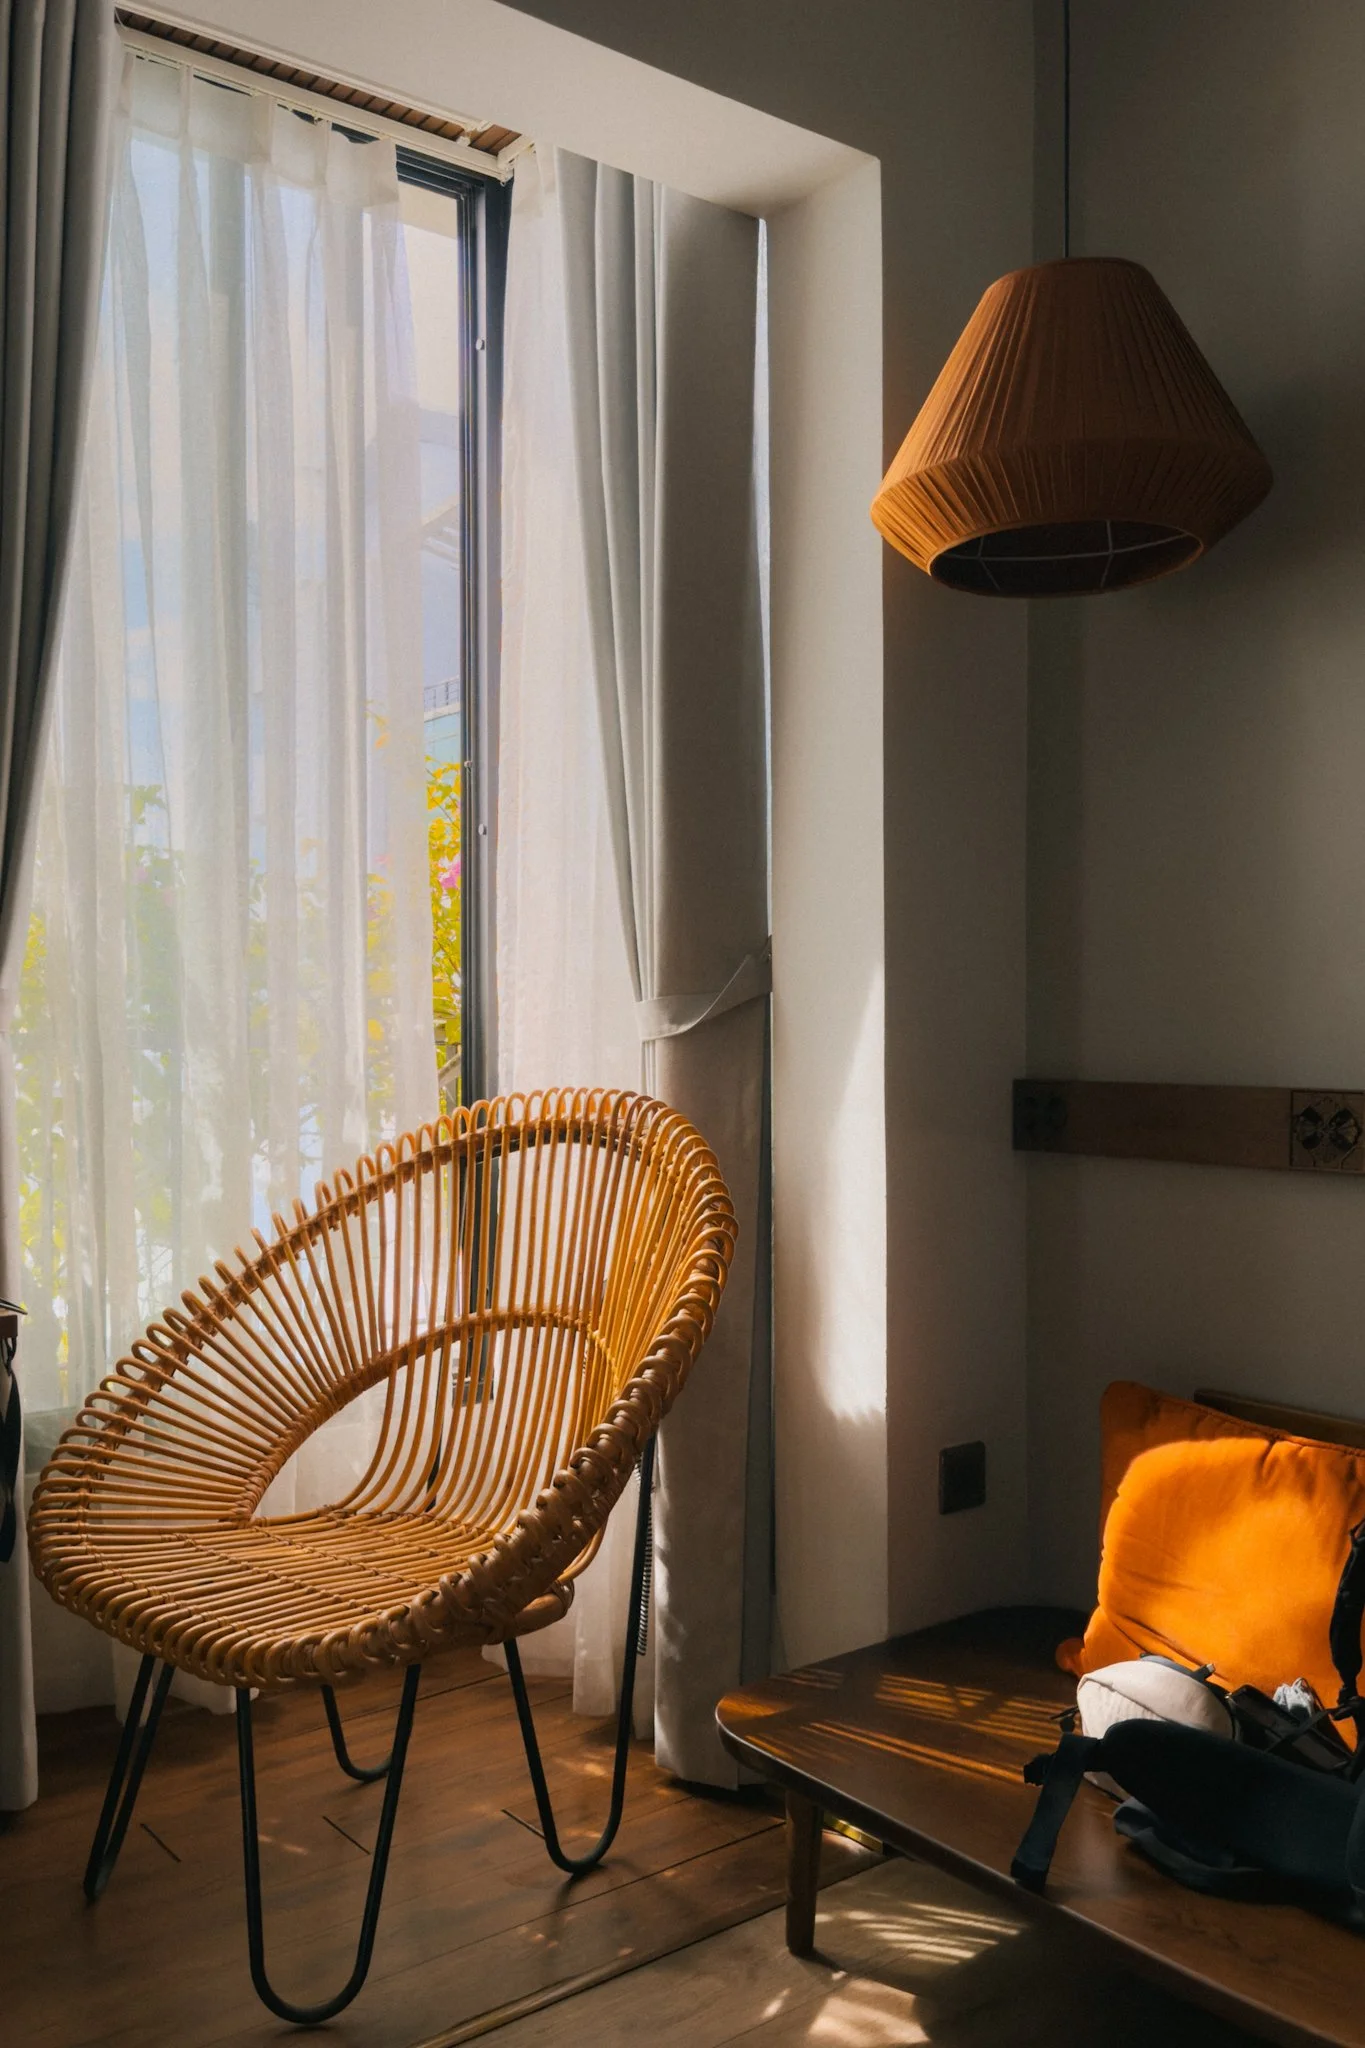
Light – Photography is the art of capturing light. Without light, you don’t have a photo, and as a photographer, your job is to seek out good light. What is good light? This depends on your preferences, but it can be boiled down to harsh and soft. Harsh light is what you see on a sunny day at lunchtime. Soft light is what you see in the morning when a thin layer of cloud diffuses the sunlight.
While the type of light is important, how that light interacts with your subject is even more essential to understand. I personally prefer images that are backlit. This is where the light source is behind the subject, and you’re shooting into the shadow side. This creates a naturally contrasty image, while also adding a level of softness. The term “cinematic” gets thrown around a lot these days, but this style of lighting does produce more cinematic images, simply because that’s how many scenes are lit in films. The light doesn’t have to be directly behind the subject, anywhere within a 180-degree radius will work.
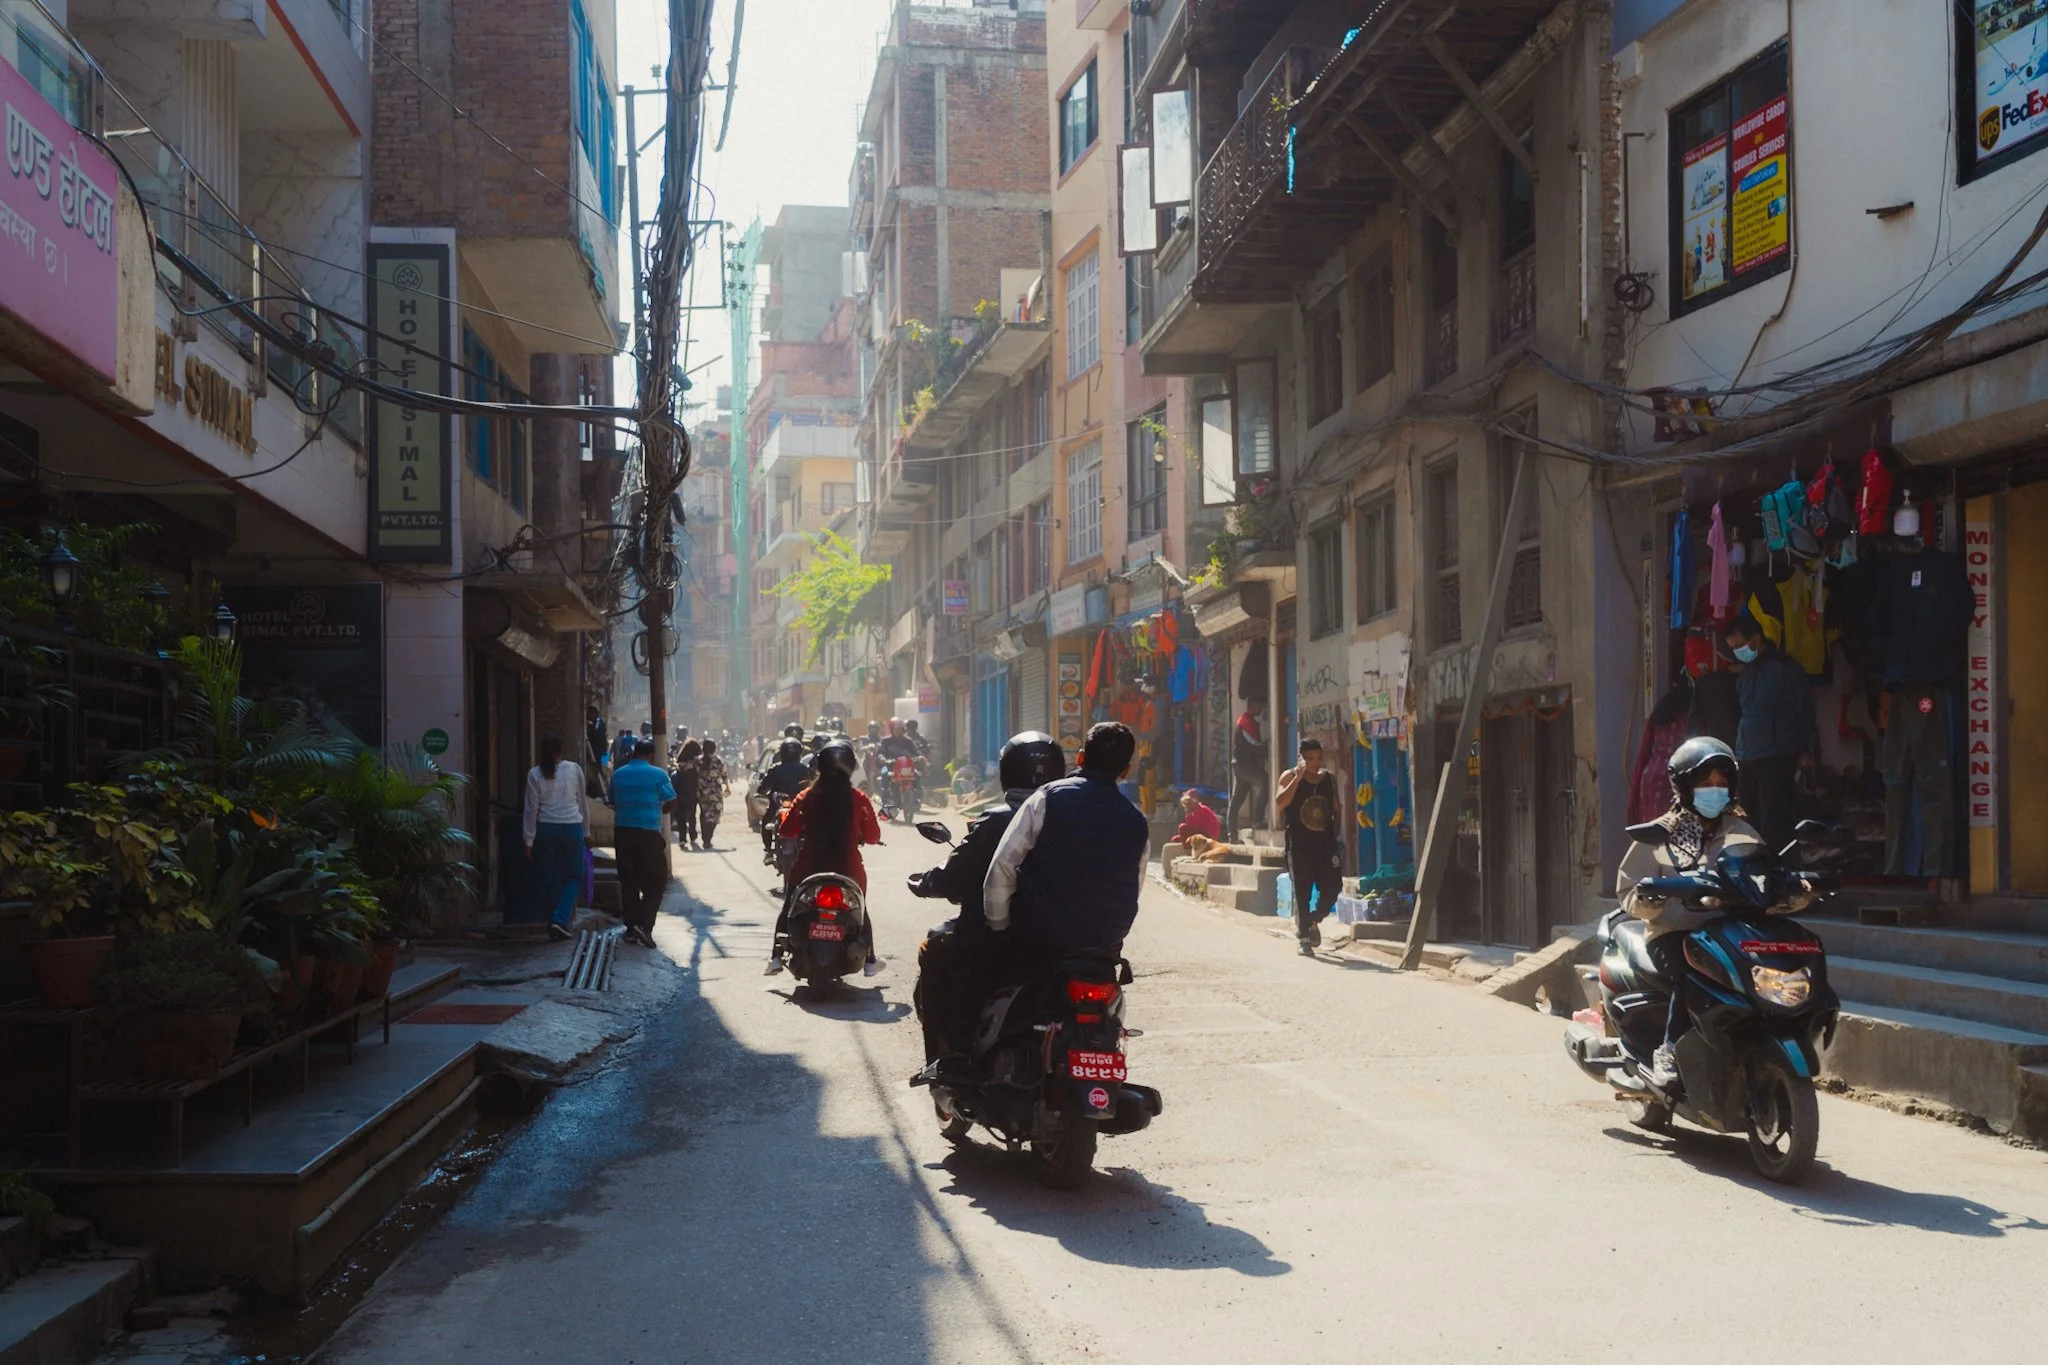
Photo for reference - not shot on iPhone
Composition – There are four key ingredients to a well-composed image.
Balance – Make sure the image feels balanced and you don’t have too much sky or too many shadows. Pay attention to how much visual weight each element has and recompose if one area is overpowering, like a bright sky or large empty space.
Rule of Thirds – Place your subject or point of interest anywhere along the thirds of the frame. Use the grid lines we set up earlier to help with this.
Framing – Use natural or architectural elements like doors, windows, or light pockets to frame your subject and draw attention to it.
Leading Lines – Look for lines within your scene that guide the viewer’s eye toward your subject or focal point. This could be a road, a fence, a streak of light, or anything that naturally leads the eye.
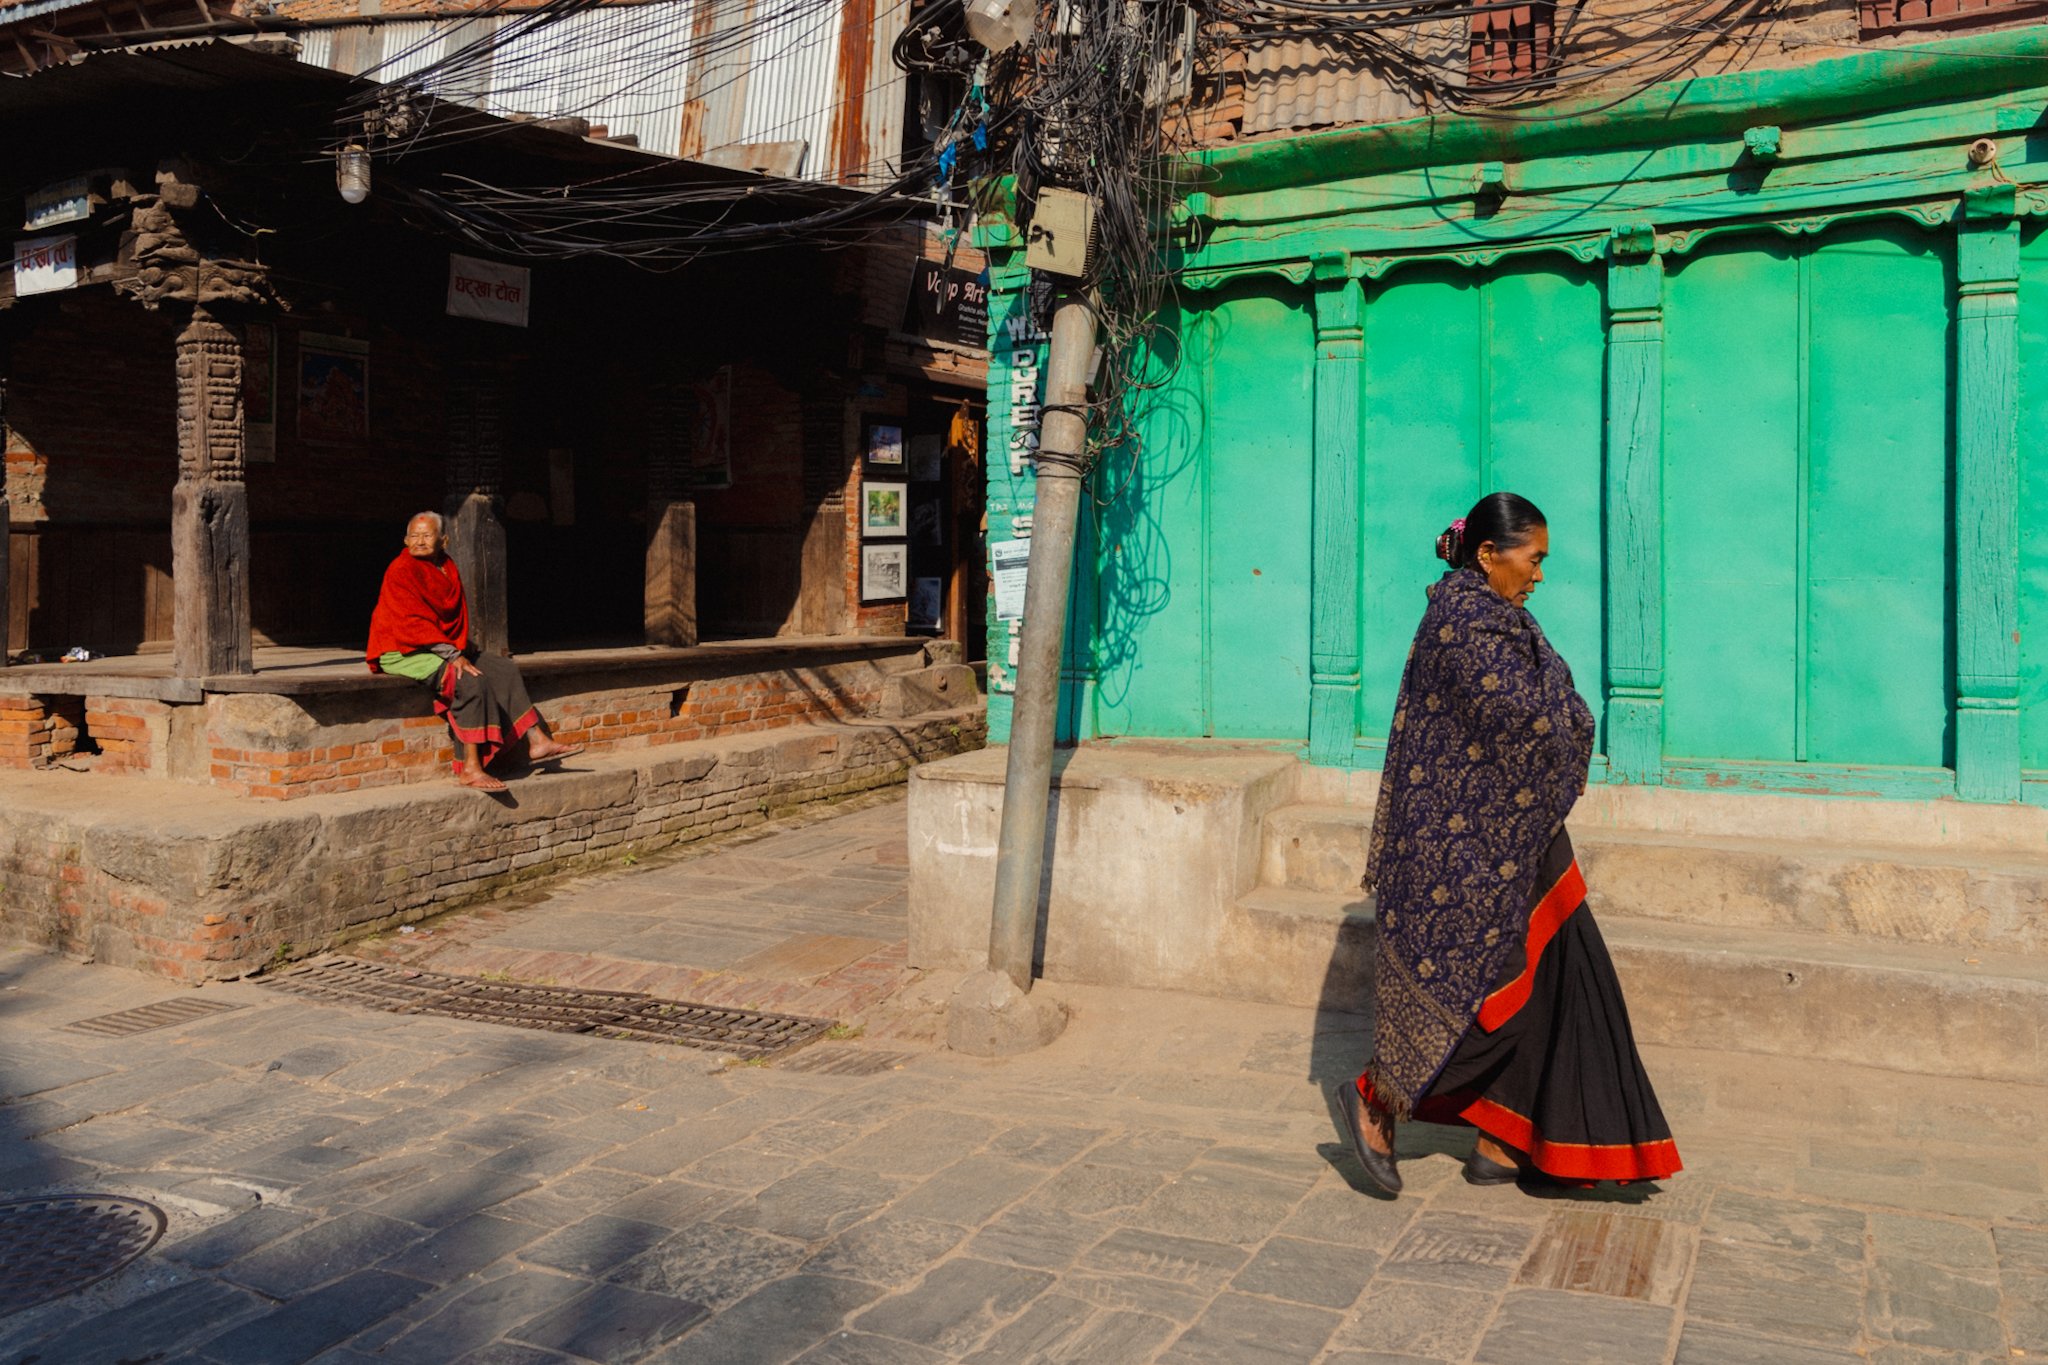
Photo for reference - not shot on iPhone
Rule of 3 – Rather than taking one standard photo and walking away, try to capture the environment using the Rule of 3.
A wide establishing shot that sets the scene and shows where you are.
A medium shot focusing on the subjects or moments within that scene.
A detail shot that captures interesting textures or smaller moments.
This method ensures you’re building a strong and engaging photo set with depth. If you have a Pro-level iPhone, this is even easier thanks to the different lenses.
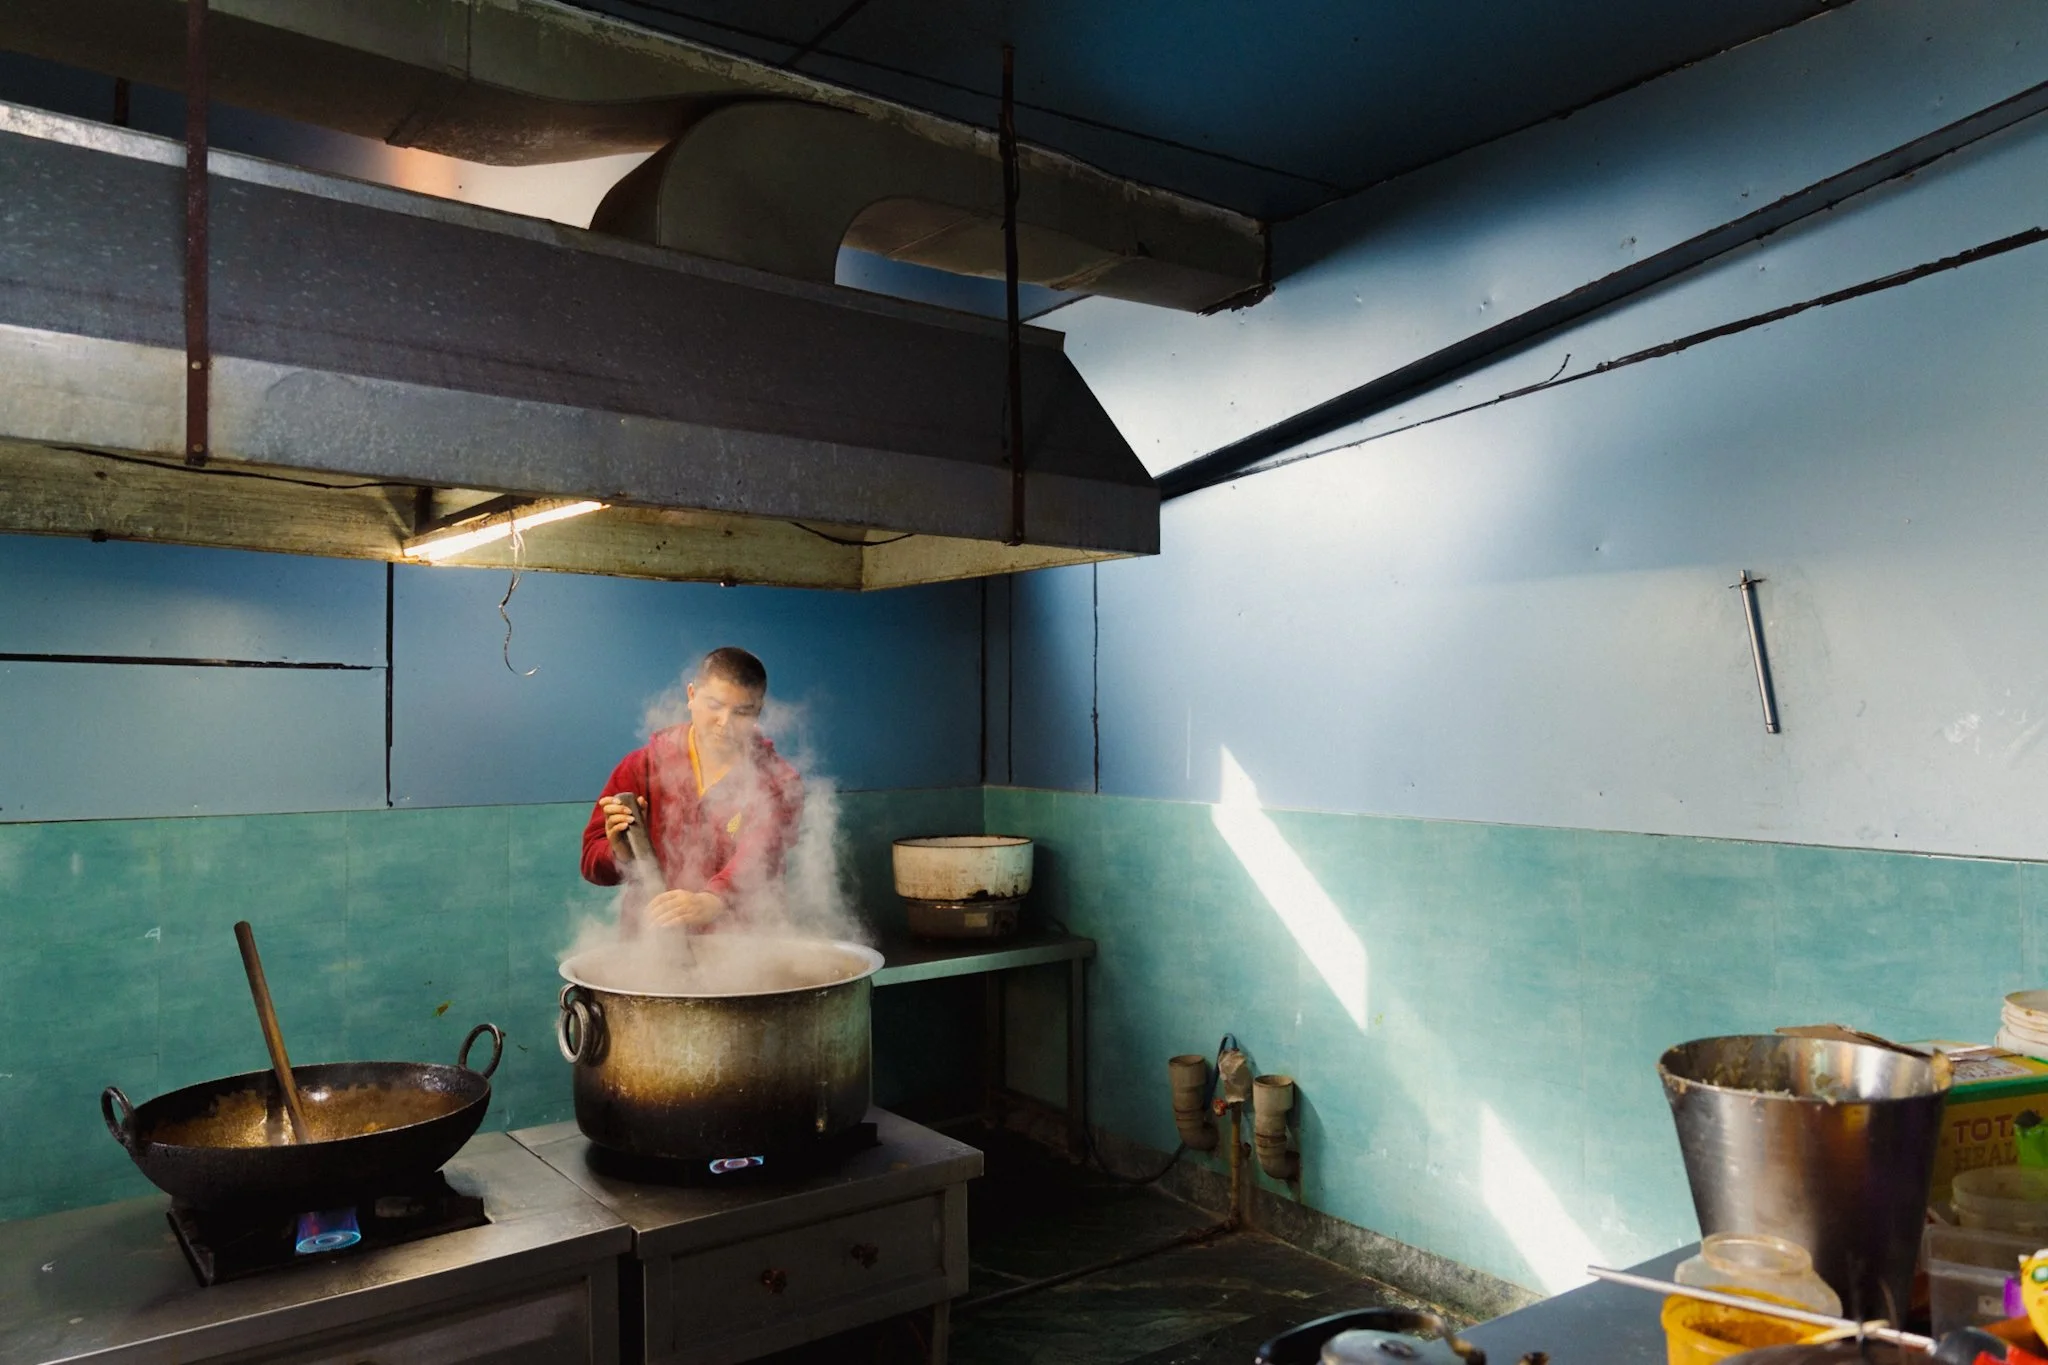
Photo for reference - not shot on iPhone

Photo for reference - not shot on iPhone

Photo for reference - not shot on iPhone
iPhone Camera Guide
If you’re enjoying this blog and finding useful information, may I recommend the iPhone Camera Guide. It’s your one-stop resource for getting the most out of the iPhone. It goes deep into setup, settings, and techniques, and also includes a collection of iPhone-optimised presets and free lifetime updates. As new phones are released, you’ll continue to receive updates automatically. This is the most direct way to support my work and keep this blog ad-free. Thank you.

Editing Essentials
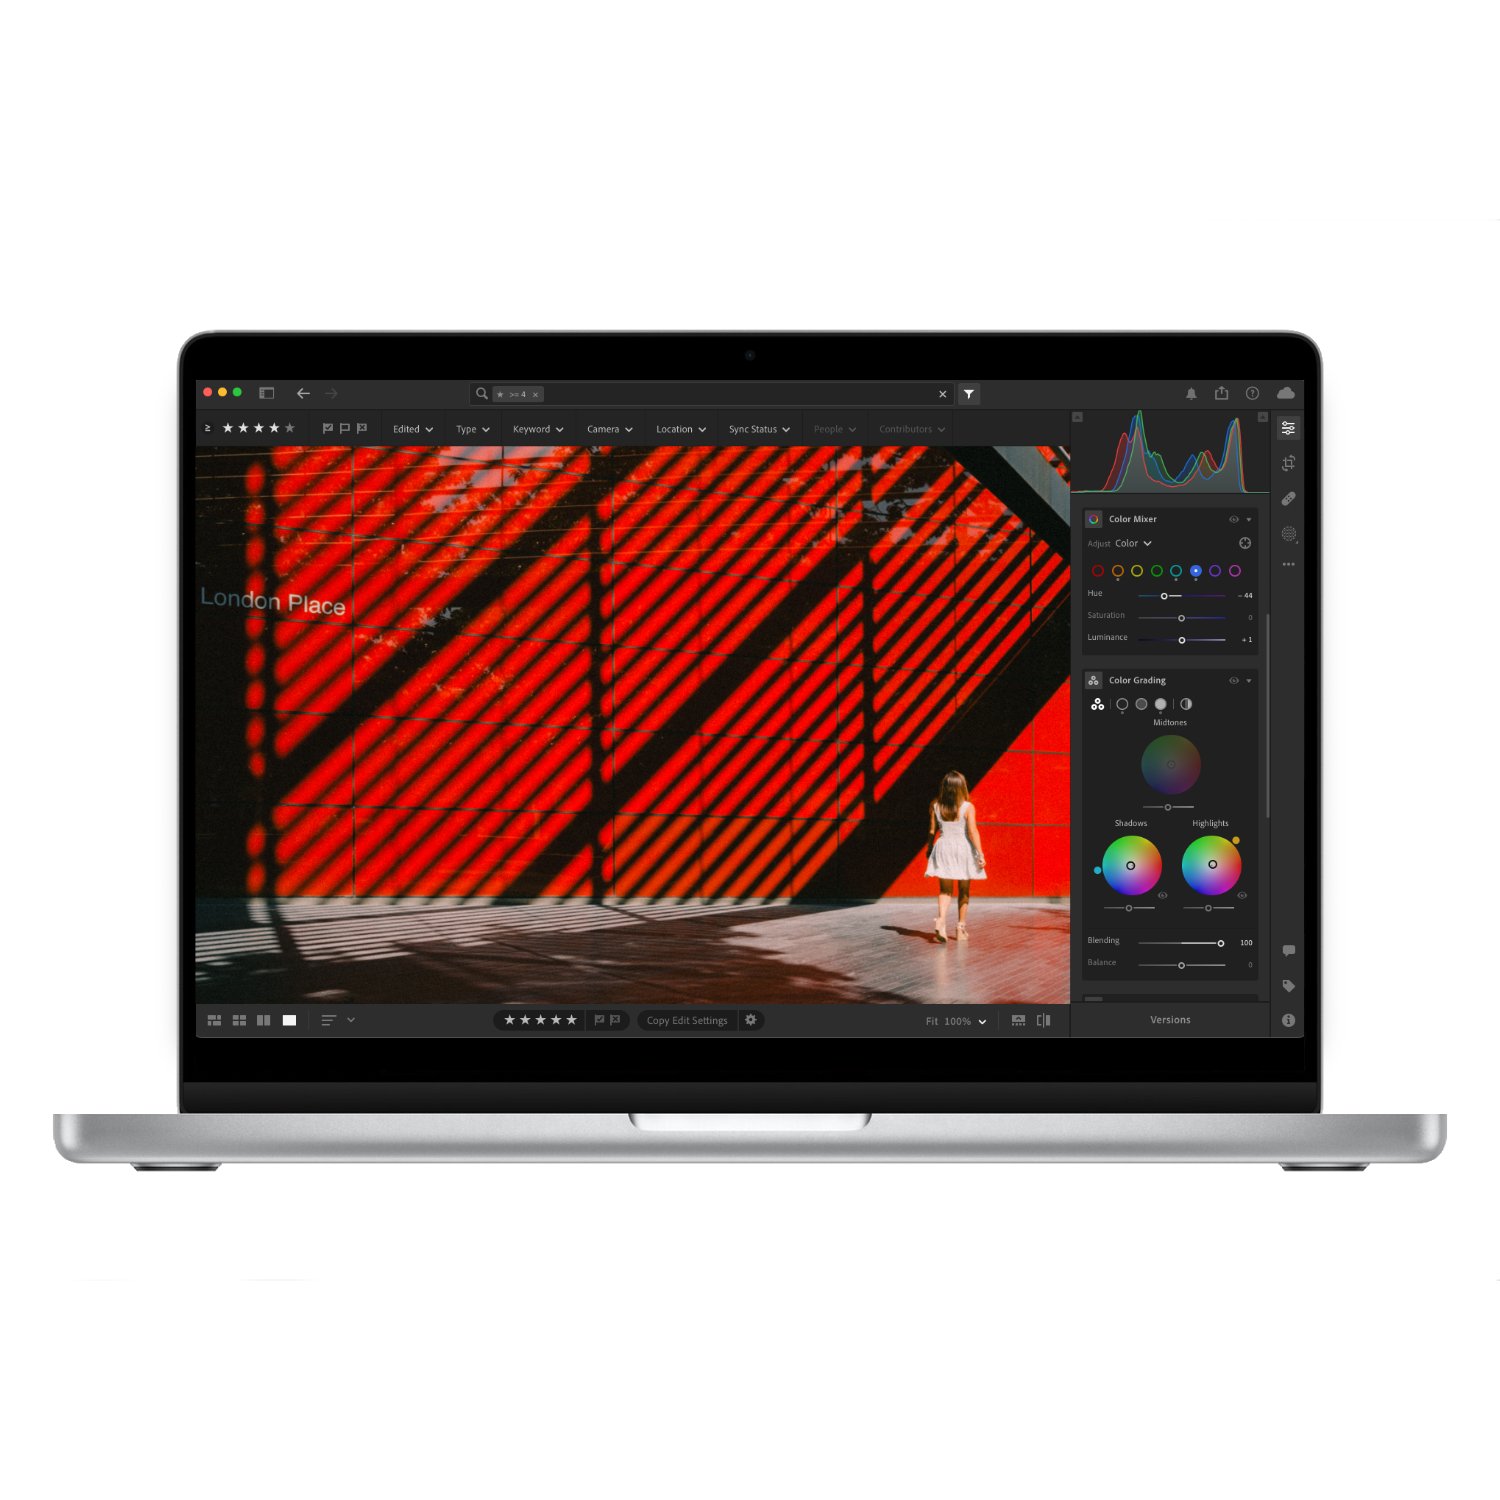
This blog won’t go deep into editing, but I’ll cover the key tools that make the biggest impact on your photos. For this example, I’ll use Adobe Lightroom, though many other editing apps have similar tools. As mentioned earlier, shooting in ProRAW is essential for the best image quality and flexibility when editing.
ProRAW Slider – When you open a ProRAW photo in Lightroom, you’ll get access to a dedicated profile. When enabled, it includes an intensity slider that lets you dial in the look. It’s a great way to set the base tone, though I find that leaving it at the default setting works best 90% of the time.
Exposure & White Balance – Most issues come down to incorrect exposure or white balance, not technically, but aesthetically. Cameras often prioritise technically correct exposure, but that doesn’t always look good. I personally like bright, warm images, so I’ll overexpose slightly and warm the tones. I brighten the image until the highlights start to clip, then pull back a little and drop the blacks for contrast.
Removing the iPhone Look – We all know the iPhone look: overly digital, crunchy, sharp, and generally unpleasant. For some reason, that’s what Apple’s engineers think people want, but luckily it’s easy to fix.
Go into Sharpening and raise the Masking slider to around 90. This ensures only the most detailed parts of the image are sharpened.
In Effects, reduce Clarity to around –20 to soften the harsh, digital edges. You can also reduce Dehaze by –10 for a more natural look.
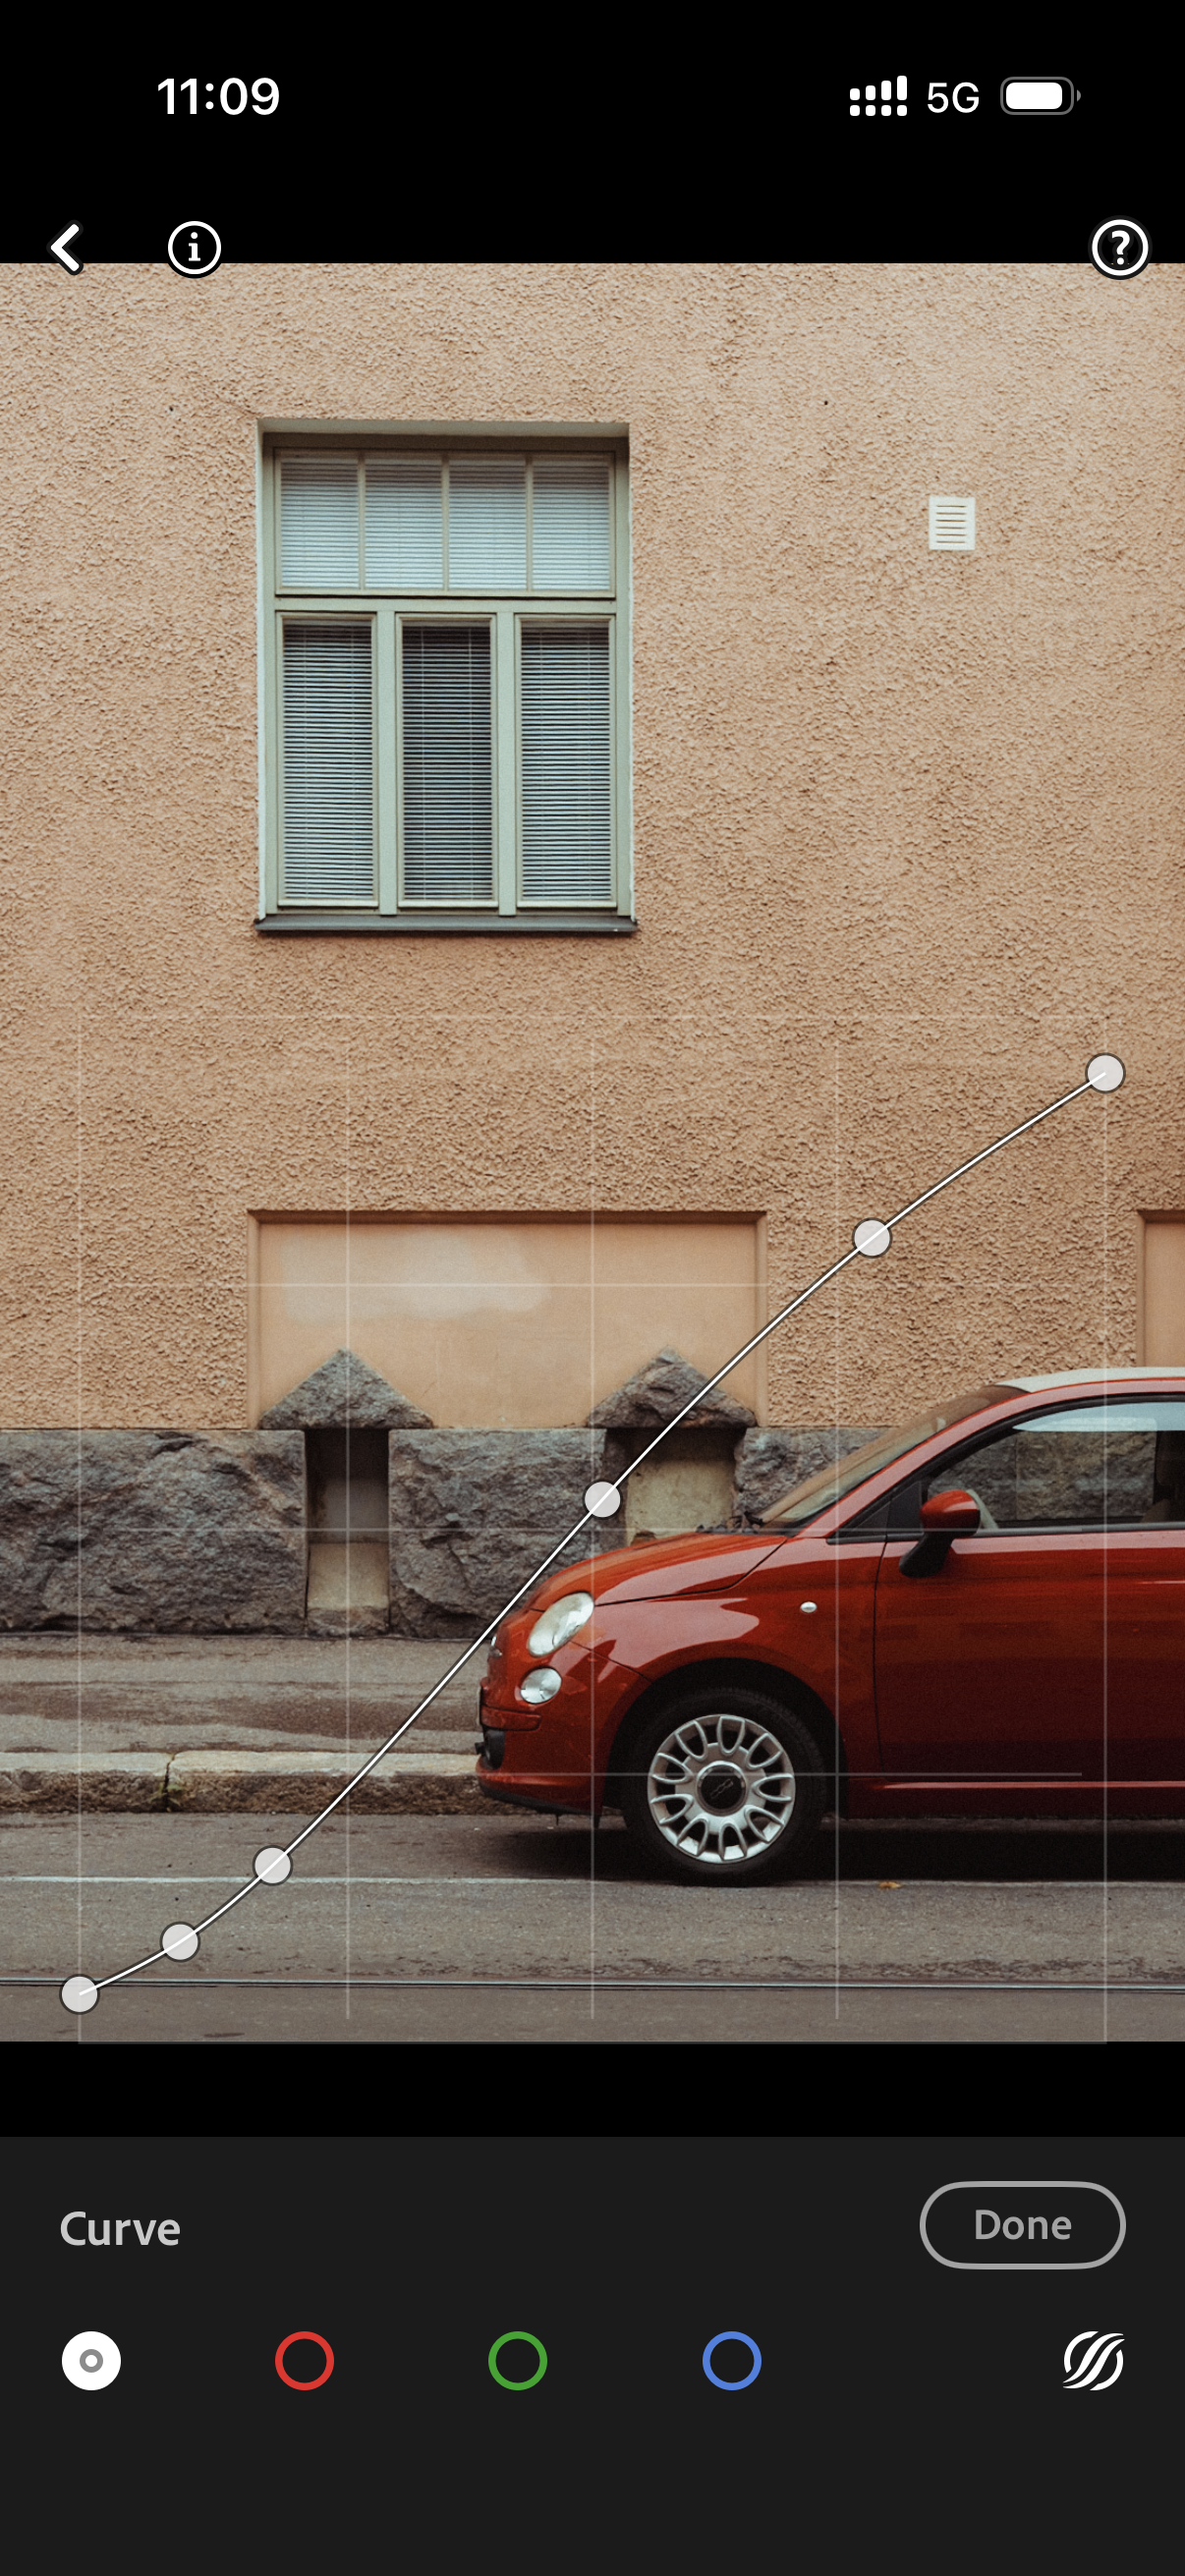
In Curves, fade the whites and blacks slightly. Add points at around 25% and 75% on the line, then gently lift the black point and drop the white point. This removes pure black and white pixels, giving a softer, more film-like look.